
Raised garden beds offer a practical and attractive solution for growing your favorite plants, vegetables, and herbs. They provide better soil drainage, improved accessibility, and easier maintenance compared to traditional in-ground gardens. DIY raised garden beds can be created using simple materials like untreated wood, corner braces, and compost-rich soil, making them an affordable option for any gardener.
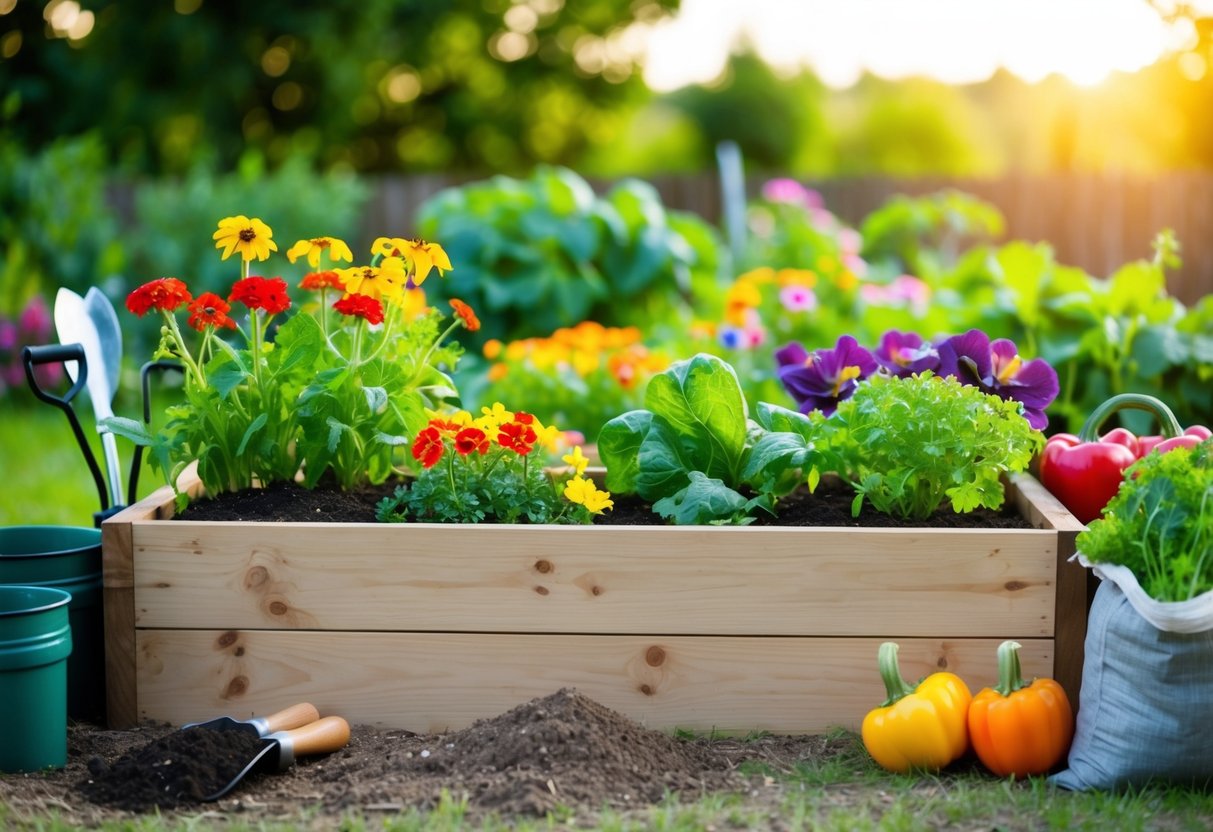
With a variety of designs and materials to choose from, you can easily customize your raised bed to fit your space and gardening needs. Whether you prefer a sleek modern look or a rustic charm, there’s a raised bed idea that will complement your outdoor aesthetic. Plus, by building your own raised garden bed, you have the flexibility to adjust the size, shape, and height to suit your specific requirements.
Creating your own raised garden bed is a rewarding project that can be completed with just a few basic tools. From simple wooden frames to more elaborate tiered designs, the possibilities are endless. By following some easy-to-implement plans and ideas, you can transform your backyard into a thriving garden oasis in no time.
Key Takeaways
- Raised garden beds offer improved soil quality, drainage, and accessibility for easier plant care
- You can create custom raised beds using various materials to suit your space and style preferences
- Building your own raised garden bed is a cost-effective and rewarding DIY project
Planning Your Raised Garden Bed
Proper planning is crucial for creating a successful raised garden bed. Consider key factors like location, size, and design to ensure optimal growing conditions for your plants.
Selecting the Right Location
Choose a spot with adequate sun exposure for your raised garden bed. Most vegetables and herbs need 6-8 hours of direct sunlight daily. Observe your yard throughout the day to find the sunniest areas.
Ensure good drainage by avoiding low-lying spots where water collects. Level ground is ideal, but a slight slope can work if you adjust the bed’s height accordingly.
Consider proximity to water sources and your home for easy maintenance. Place the bed where you’ll see it often, encouraging regular care and harvesting.
Protect your garden from strong winds by using existing structures or planting windbreaks. This helps prevent soil erosion and plant damage.
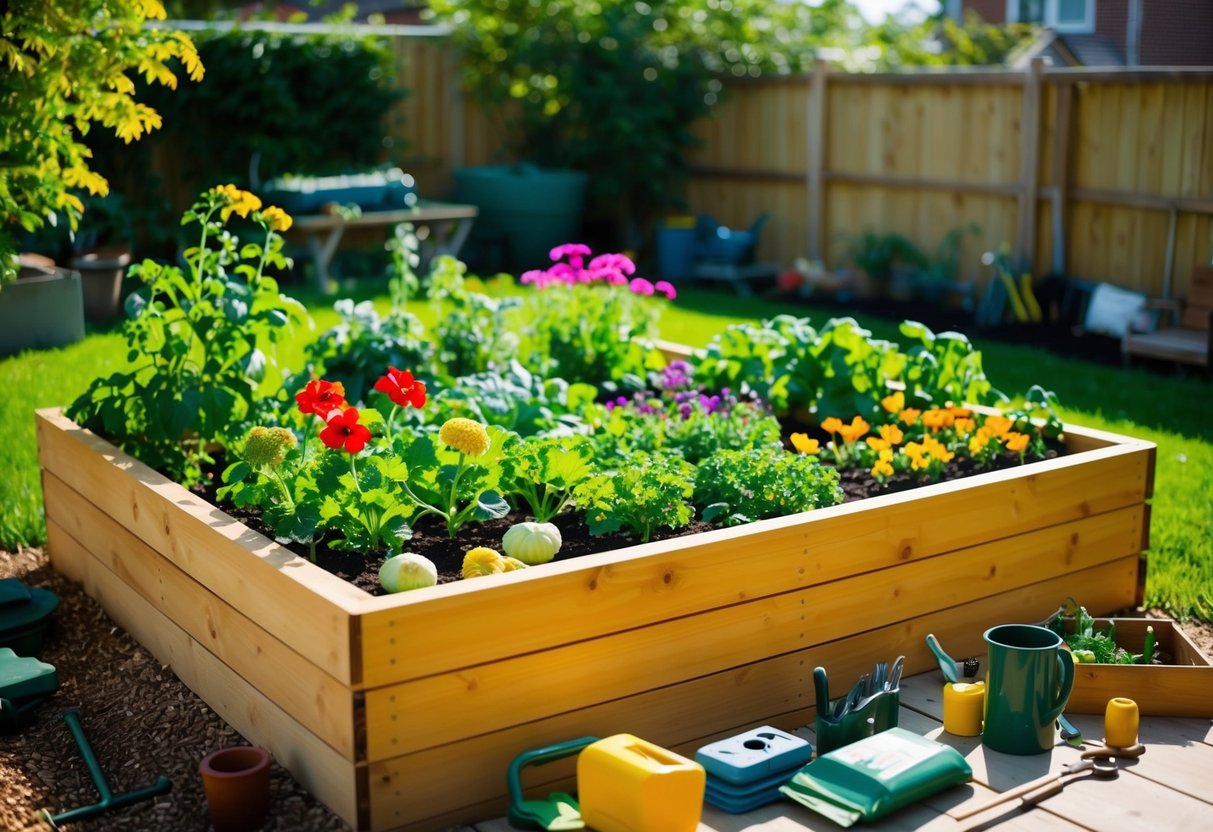
Choosing the Size and Design
Determine the size based on available space and your gardening goals. Small raised beds (4×4 feet) are perfect for beginners and square foot gardening.
Wider beds offer more planting area, but ensure you can reach the center without stepping in. A 3-4 foot width is typically ideal for easy access.
Consider your plants’ needs when deciding on depth. Most vegetables require at least 6-12 inches of soil. Deep-rooted plants may need 18-24 inches.
Choose materials that suit your style and budget. Cedar raised garden beds are popular for their durability and natural pest resistance.
Explore various raised garden bed plans to find a design that fits your space and aesthetic preferences. L-shaped or tiered designs can maximize growing area in small yards.
Materials and Tools Required
Choosing the right materials and tools is crucial for building sturdy and long-lasting DIY raised garden beds. Quality materials ensure durability, while proper tools make construction efficient and precise.
Selecting Quality Materials
For DIY raised garden beds, cedar and redwood are top choices due to their natural rot resistance. Cedar fence picketsoffer an affordable option for smaller beds. Pressure-treated lumber is cost-effective but use only newer versions rated safe for food gardens.
Avoid railroad ties, as they may contain harmful chemicals. For fasteners, opt for corrosion-resistant screws. Galvanized or stainless steel screws work well.
Consider the bed’s height when selecting materials. Taller beds require thicker boards or additional support to prevent bowing. A depth of 10-12 inches suits most plants.
Tools for Construction
Essential tools for building raised beds include:
- Drill/driver
- Circular saw or miter saw
- Measuring tape
- Level
- Square
A Kreg Jig can be helpful for creating strong joints, but it’s not necessary. Pre-drilling holes prevents wood splitting and makes assembly easier.
For larger projects, a table saw helps create precise cuts. Safety gear like gloves and eye protection is crucial.
Consider renting tools you don’t own to save money. Many hardware stores offer affordable daily rentals for power tools.
Building Your Raised Garden Bed
Creating your own raised garden bed is a rewarding project that enhances your outdoor space. With the right materials and techniques, you can construct a sturdy frame and ensure proper drainage for optimal plant growth.
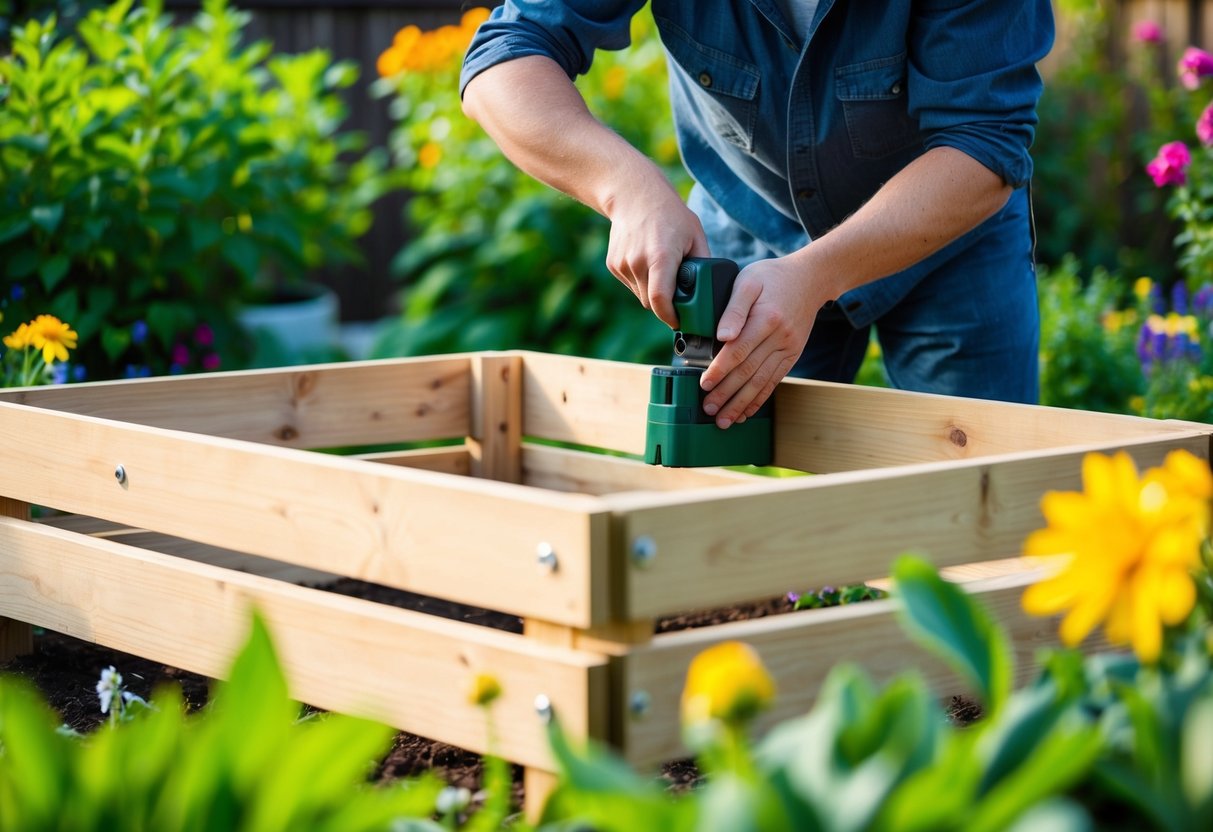
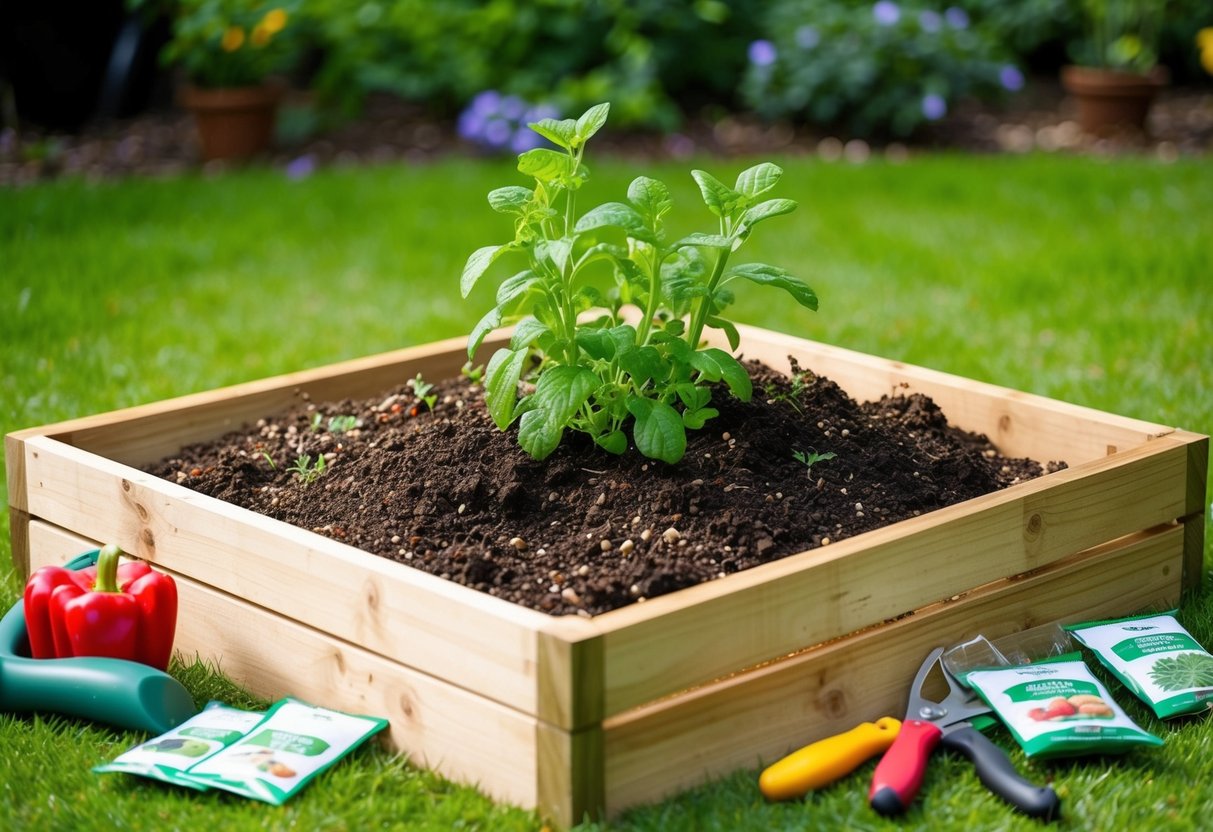
Constructing the Basic Frame
To build a DIY raised garden bed, start by selecting suitable materials. Treated lumber is a popular choice due to its durability and resistance to rot. Cut four boards to your desired length for the sides and four shorter pieces for the corners.
Position the corner pieces vertically and attach the side boards using screws or nails. Ensure the frame is level and square. For added stability, you can reinforce the corners with metal brackets.
Consider the bed’s height based on your gardening needs. A depth of 10-12 inches is sufficient for most plants, but deeper beds may be necessary for root vegetables.
Ensuring Proper Drainage
Good drainage is crucial for healthy plant growth in your DIY garden bed. Begin by laying a layer of landscape fabric at the bottom to prevent weeds while allowing water to pass through.
Add a 2-inch layer of gravel or crushed stone to improve drainage. This helps prevent water from pooling at the bottom of the bed.
When filling your bed with soil, use a well-draining mix. Combine equal parts topsoil, compost, and coarse sand or perlite. This mixture provides nutrients and promotes proper water flow.
If building on a hard surface, drill drainage holes in the bottom of the frame. Space them evenly, about 6 inches apart, to allow excess water to escape.
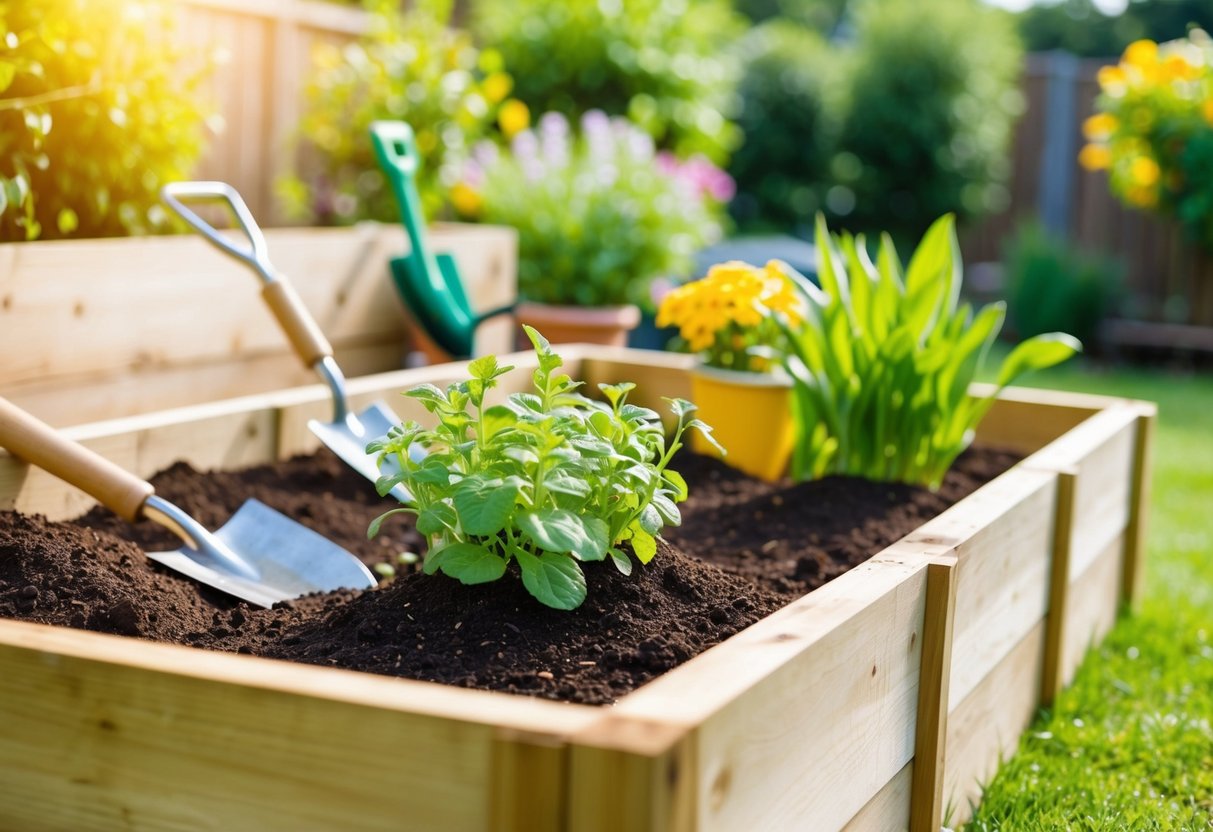
Soil and Composting
Creating the ideal soil environment is crucial for a thriving raised garden bed. Proper soil preparation and composting techniques ensure your plants receive optimal nutrition and drainage for healthy growth.
Preparing the Right Soil Mix
Start by filling your raised garden bed with a mix of 60% topsoil, 30% compost, and 10% perlite or vermiculite. This combination provides excellent drainage and nutrient retention. For vegetable gardens, add aged manure to boost fertility.
Avoid using soil directly from your yard, as it may be too heavy or contain weed seeds. Instead, opt for a high-quality potting mix or create your own blend.
To improve soil structure, incorporate organic matter like leaf mold or well-rotted compost. This enhances water retention and promotes beneficial microbial activity.
For herb gardens, use a slightly sandier mix to ensure better drainage. Add some grit or coarse sand to your soil blend.
Layering for Nutrient-Rich Beds
Implement the lasagna gardening method to create nutrient-rich layers in your raised bed. Begin with a layer of cardboard or newspaper at the bottom to suppress weeds.
Add a 2-inch layer of brown materials like dried leaves or straw. Follow with a 2-inch layer of green materials such as grass clippings or kitchen scraps.
Alternate brown and green layers until you reach the desired height. Top it off with a 2-inch layer of compost and a final layer of soil mix.
Water each layer thoroughly as you build. This layering technique creates a rich composting environment within your bed, providing slow-release nutrients to your plants throughout the growing season.
Apply a 2-inch layer of mulch on top to conserve moisture and suppress weeds. Use organic mulch like straw or wood chips, which will break down over time and further enrich your soil.
Innovative Raised Bed Options
Gardeners have exciting new options for creating unique and functional raised beds. These alternatives go beyond traditional wooden boxes to incorporate clever designs and materials.
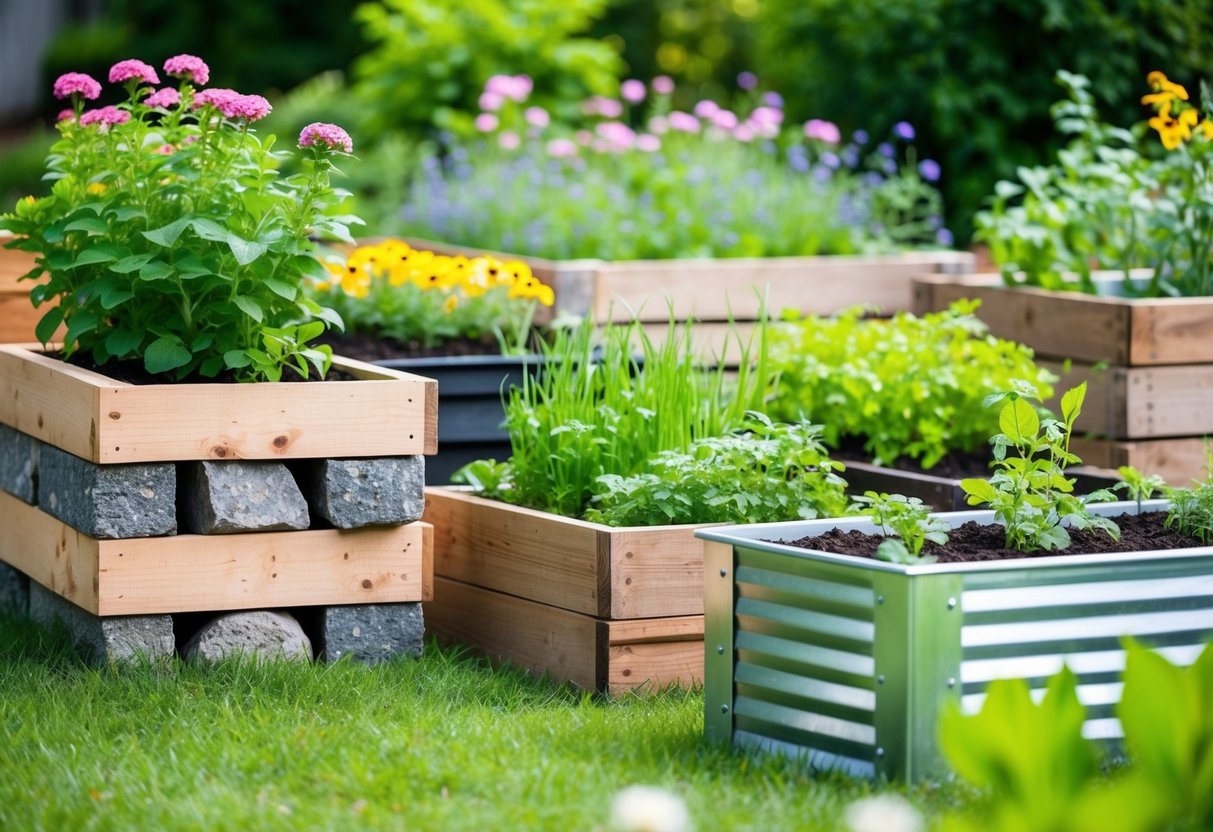
Using Alternative Materials
Cinder block raised beds offer durability and flexibility. You can easily adjust their size and shape as needed. Repurposed items like old bathtubs, wooden crates, or metal troughs make charming planters with character.
Consider using gabion cages filled with rocks for a modern industrial look. These sturdy structures allow for excellent drainage. Fabric grow bags are lightweight, portable options for small spaces or renters.
For an eco-friendly choice, try hugelkultur beds. These mound-shaped raised beds incorporate logs and organic matter, improving soil quality over time.
Incorporating Special Features
Take your raised garden beds to the next level with built-in features. You can install a self-watering system using perforated pipes or wicking beds for low-maintenance gardening. This is especially helpful for busy gardeners or drought-prone areas.
Add a hoop house cover to extend your growing season. You can create a simple greenhouse effect with PVC pipes and clear plastic sheeting. For vertical gardening, incorporate trellises or cattle panels into your bed design.
Consider building tiered or cascading planters to maximize space and create visual interest. These work well on slopes or for growing strawberries. You can also add built-in seating along the edges of your raised beds for a comfortable gardening experience.
The tip about needing 6-8 hours of direct sunlight really hit home. My first bed was tucked under a tree, and the tomatoes were always leggy.
The advice to observe the yard throughout the day for sun exposure is spot on. Wished I had done that before placing my first bed behind a fence.