
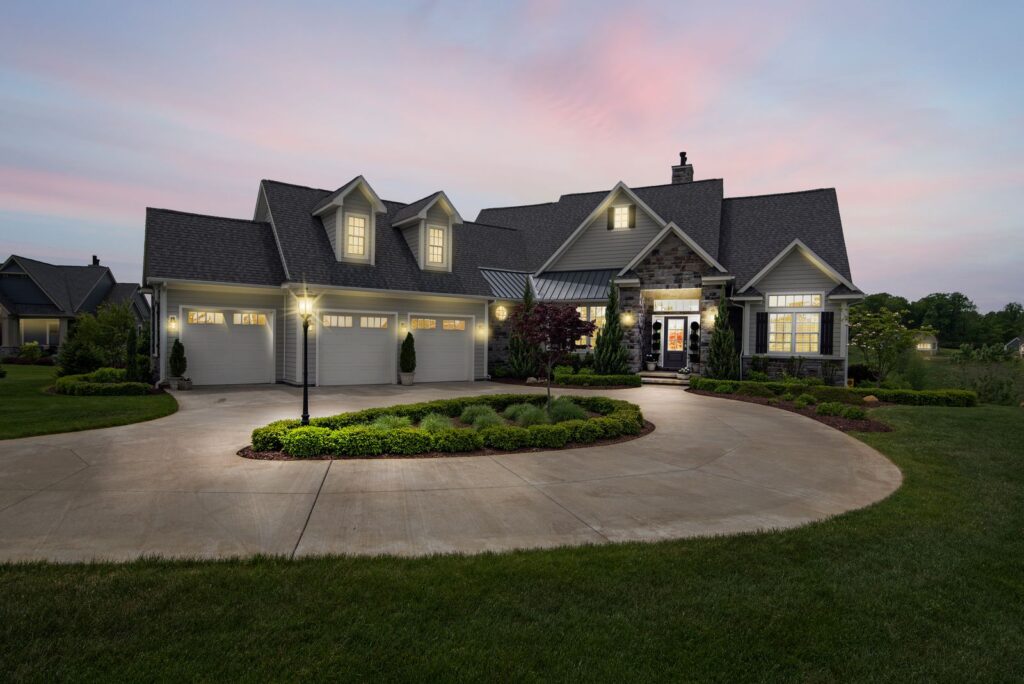
Good landscape lighting lights a few things well instead of everything at once: the paths and steps people walk on, the door, and two or three features worth seeing at night, like a tree, a wall, or a water feature. For most homes, a 12-volt low-voltage LED system with warm white bulbs is the right choice, and you can install it yourself. Here’s how to plan the layout, pick fixtures and bulbs, and avoid the glare that makes yards look worse at night.
Start With a Plan
Sketch your yard and mark three things. First, where people walk: paths, steps, the driveway, and the front door. Second, two or three features you want to show off at night. Third, where you’ll sit outside after dark. Then walk the yard at night with a flashlight to see what’s visible from the house and the street.
Most designs layer three kinds of light:
- Safety lighting for paths, steps, and entries.
- Accent lighting on trees, walls, and focal points.
- Ambient lighting for patios and seating areas, such as string lights or soft downlights.
Lighting Techniques and the Fixtures for Each
| Technique | What it does | Fixture |
|---|---|---|
| Path lighting | Pools of light on walkways and beds | Path lights with a top hood |
| Uplighting | Lights a tree or wall from below | Spotlights (bullet lights) or in-ground well lights |
| Downlighting or moonlighting | Soft light from above, like moonlight through branches | Downlights mounted in a tree or on the house |
| Wall washing | Even glow across a wall or hedge | Wide-beam wash lights |
| Silhouetting | Shows a plant’s shape against a lit wall | A wash light aimed at the wall behind the plant |
| Step lighting | Makes each step visible | Small lights set into risers or walls |
Paths and Steps
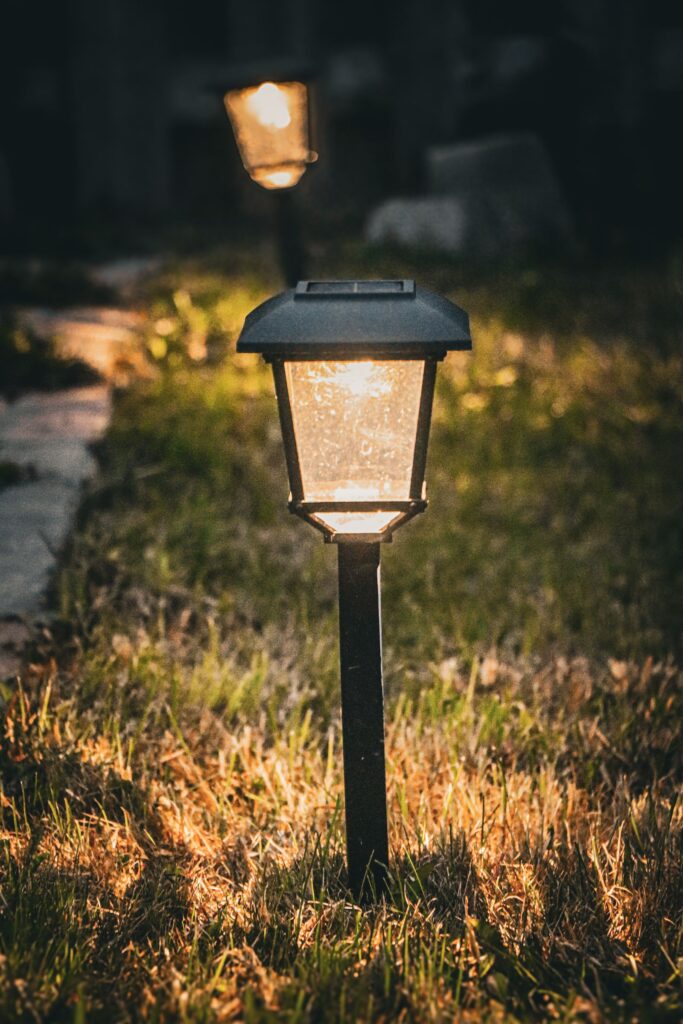
Path lights should light the ground, not the eyes. Stagger them along alternating sides instead of lining both edges like a runway, and aim for overlapping pools of light rather than even brightness. Steps are the most important spot to light, since that’s where people trip. For path materials and widths, see our garden path guide.
Trees and Features
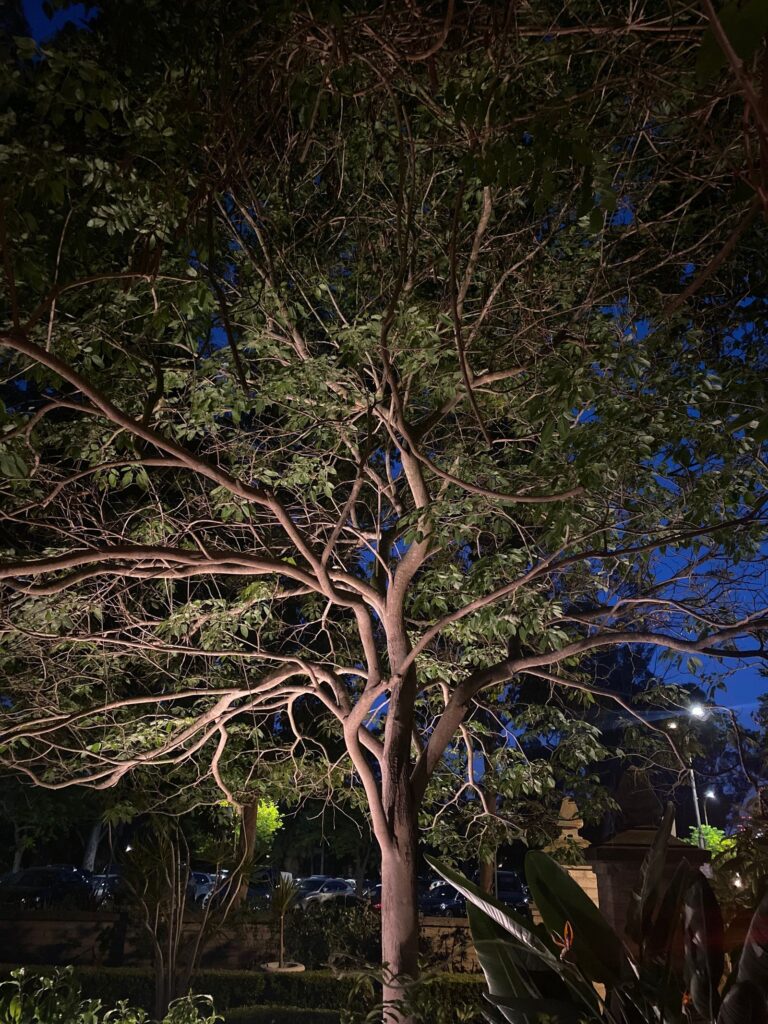
Uplight a tree with one or two spotlights at the base, aimed into the canopy. Use a narrow beam for a tall, slim tree and a wider one for a broad canopy. Well lights sit flush with the ground, so they’re good near lawns where a mower would hit a spotlight. A lit water feature or sculpture makes a strong focal point. Our water features guide has ideas.
Patios and Seating Areas
Keep light around seating low and warm. String lights, a few downlights from a pergola, or lights tucked under bench seats work better than a bright floodlight, which flattens everything and attracts insects. Put brighter task light only where you need it, such as over a grill. For layout ideas, see our guide to outdoor dining spaces.
Choosing Bulbs
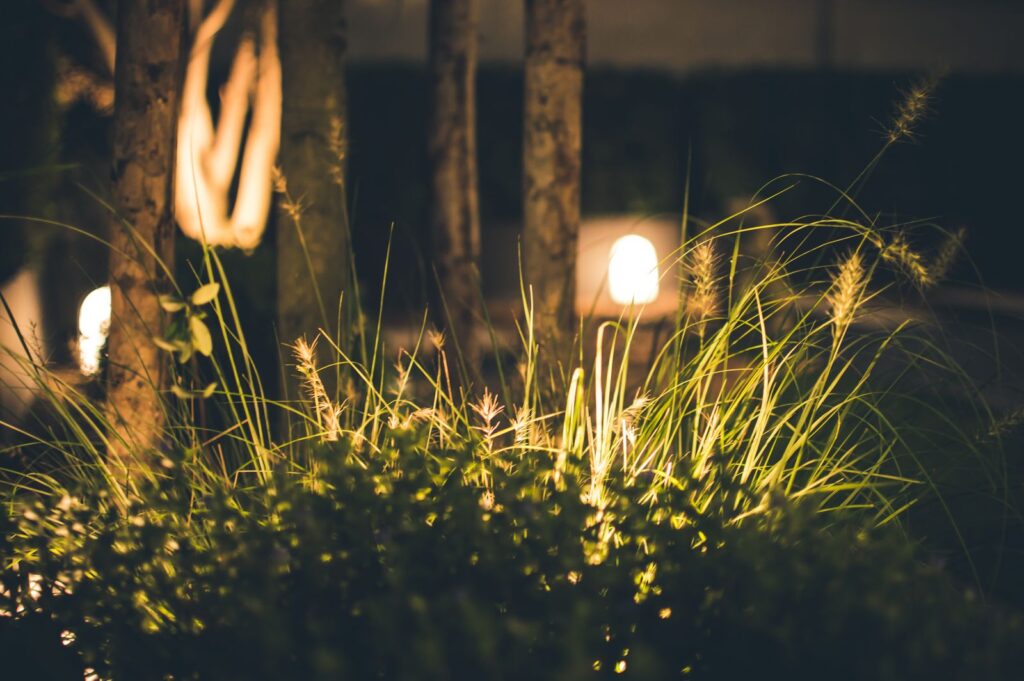
- Use LEDs. They use far less electricity and last much longer than halogen. Warm-white LEDs now look as good as halogen did.
- Choose warm color temperature. Around 2700K to 3000K looks natural on plants, stone, and wood. Cool white, 4000K and above, can look harsh in a garden.
- Buy by lumens, not watts. Lumens measure brightness. Path and accent lights need far less than you’d guess. A dark yard makes a modest light look bright.
Low-Voltage, Line-Voltage, or Solar?
Low-voltage (12-volt) is the standard for residential landscape lighting. A transformer plugs into an outdoor outlet and steps household current down to 12 volts. The cable is safer to handle and can be buried shallowly, so it’s a reasonable DIY project. Plug the transformer into a GFCI-protected outlet with a weatherproof cover, and use a transformer with a timer or photocell.
Line-voltage (120-volt) fixtures are brighter and are used for security floodlights and some commercial jobs. They need buried conduit and usually a permit, so hire a licensed electrician.
Solar lights need no wiring at all, but their output depends on how much sun the panel gets, and they tend to be dim, especially in winter or shade. They’re fine for marking a path edge in a sunny spot, not for lighting steps or features.
Installing a Low-Voltage System
- Lay it out. Place the fixtures where your plan says and test them at night with the cable on the surface before burying anything.
- Size the transformer. Add up the wattage of every fixture and choose a transformer with spare capacity, so you can add lights later.
- Run the cable. Use cable rated for direct burial and connectors made for outdoor low-voltage lighting. On long runs, lights at the far end can dim, so follow the manufacturer’s guidance on cable size and run length.
- Bury it. Slit the turf with a flat spade and tuck the cable in at the depth the kit specifies. Call 811 before digging deeper trenches.
- Aim and adjust. Fine-tune the angles at night, then set the timer.
Avoid Glare and Light Pollution
Over-lighting is the most common mistake. DarkSky International and the Illuminating Engineering Society published five principles for responsible outdoor lighting. Light should be useful, only where it’s needed. It should be targeted, shielded and aimed down so it doesn’t spill. It should be low, no brighter than necessary. It should be controlled with timers or motion sensors. And it should be warm-colored, with as little blue light as possible. Following them also keeps your lights out of the neighbors’ windows and saves energy. Never aim a fixture where it shines into the eyes of someone walking toward it. A good rule from designers: you should see the light, not the fixture, so tuck fixtures behind plants or rocks where you can.
Keeping It Working
Once or twice a year, wipe the lenses, trim back plants that have grown over fixtures, re-aim anything that has been knocked out of line, and check connections for corrosion. Reset the timer when the clocks change.
For more ways to improve the front of your home, see our curb appeal guide, and for weekend upgrades that pair well with lighting, our weekend backyard projects.
Frequently Asked Questions
What color temperature is best for landscape lighting?
Warm white, around 2700K to 3000K, looks most natural on plants, stone, and wood. DarkSky International also recommends warm-colored light to limit blue light at night.
Is low-voltage landscape lighting safe to install yourself?
Yes, for most homeowners. A 12-volt system uses a transformer that plugs into a GFCI-protected outdoor outlet, and the cable is safe to handle. Line-voltage 120-volt lighting is a job for a licensed electrician.
Are solar landscape lights any good?
They are easy to install but often dim, and their output depends on how much sun the panel gets. They work for marking a path edge in a sunny spot, not for lighting steps or features.
How do I light a tree?
Place one or two spotlights at the base and aim them up into the canopy. Use a narrow beam for a tall, slim tree and a wider beam for a broad canopy, or use a downlight in the tree for a moonlight effect.
How do I keep landscape lights from bothering neighbors?
Use shielded fixtures aimed down or at their target, keep brightness low, choose warm bulbs, and put the lights on a timer. These are DarkSky International’s principles for responsible outdoor lighting.