
Planning a patio comes down to five decisions made in order: how you’ll use it, where it goes, how big it needs to be, what it’s made of, and how water will drain off it. Get those right on paper and the build is straightforward. Here’s how to work through each one before you dig.
1. Decide How You’ll Use It
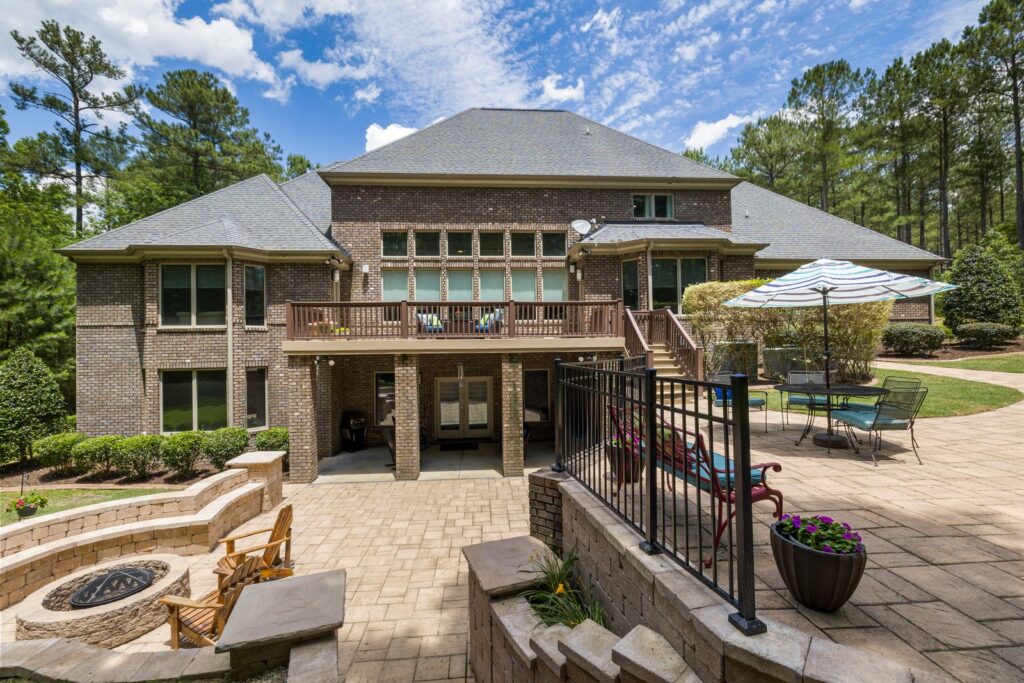
List what you want to do on the patio: eat, lounge, grill, gather around a fire, or all of them. Each use becomes a zone, and each zone needs its own furniture footprint. A small patio may do one job well, while a larger one can hold a dining zone near the door and a lounge or fire pit zone farther out. Our guides to outdoor dining areas and fire pit areas cover those zones in detail.
2. Choose the Location
- Close to the house if it’s for everyday meals, so carrying food out is easy.
- Sun and shade at the times you’ll use it. Watch the spot on a summer evening before committing.
- Privacy and views. Note where neighbors can see in and what you’ll look at while sitting.
- Ground conditions. Avoid low spots where water collects, and keep clear of tree roots you don’t want to cut.
- Utilities. Call 811 to have buried lines marked before you excavate.
3. Size It to the Furniture
The most common patio mistake is building too small. Lay out the furniture you plan to use, on the lawn or with cardboard cutouts, and add about 3 feet around a dining table so chairs can pull out and people can walk behind them. Add walkways between zones and room for a grill or planters. Mark the final outline with stakes and string or a garden hose and live with it for a few days. It’s much easier to change a string line than a slab. If you’re using pavers or slabs, round the final dimensions to fit whole units where you can, which cuts down on cutting.
4. Pick the Material
| Material | Cost | DIY? | Pros | Cons |
|---|---|---|---|---|
| Gravel or crushed stone | $ | Yes | Cheapest, drains well, quick to install | Shifts underfoot, harder for chair legs |
| Concrete pavers | $$ | Yes, with work | Many styles, single pavers can be replaced | Needs a deep, compacted base |
| Poured concrete | $$ | Usually hire out | Smooth and durable, can be stamped or colored | Can crack, and repairs show |
| Brick | $$ | Yes, with work | Classic look | Use paving-grade brick, and it can grow moss in shade |
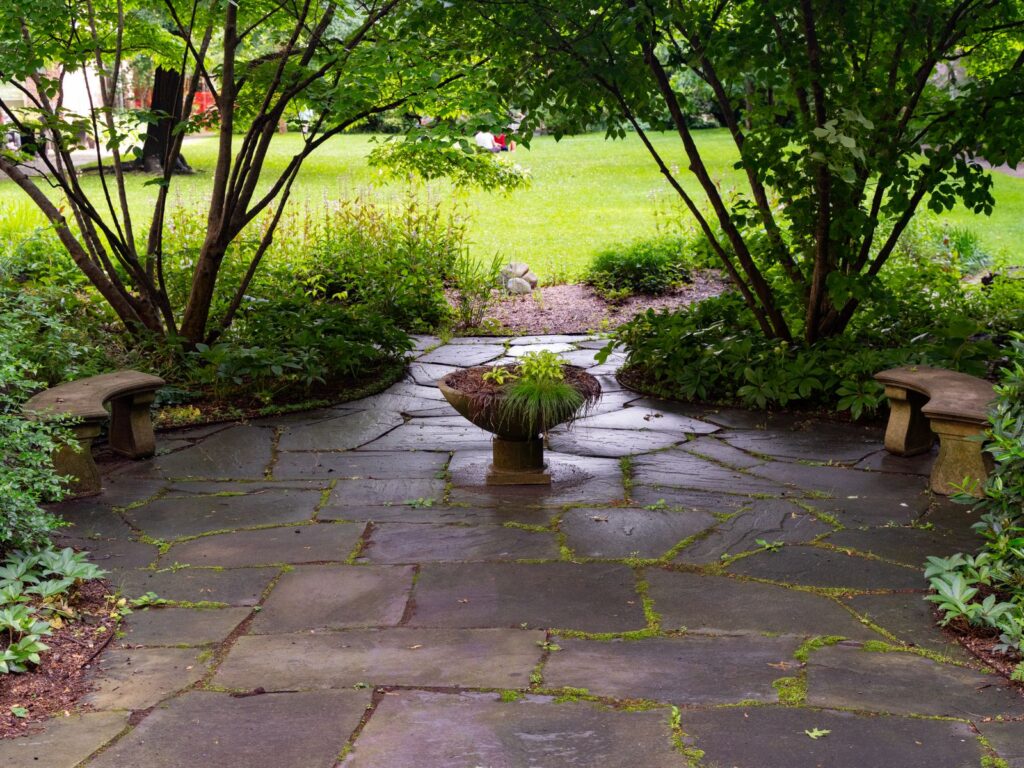
| Flagstone | $$$ | Possible | Natural, high-end look | Uneven surface, irregular shapes take time to fit |
| Permeable pavers | $$$ | Usually hire out | Rain soaks through | Needs a specially designed stone base |
Choose something that suits the house and the climate. In cold regions, pavers and flagstone on a proper base handle freeze-thaw movement better than a slab that can crack. If runoff is a concern, permeable surfaces help: the EPA notes that pervious concrete, interlocking pavers, and grid pavers let rain and snowmelt seep into the soil and gravel underneath instead of running off.
5. Plan the Base and Drainage
What’s underneath decides how long a patio lasts. Pavers and stone need a compacted gravel base, at least 4 inches under a patio according to the Interlocking Concrete Pavement Institute, with a thicker base on clay soil or where the ground freezes. Slope the surface gently away from the house, about 1/4 inch per foot, so water drains off instead of toward the foundation. Our paver installation guide walks through digging, compacting, and laying pavers step by step.
6. Add Shade, Light, and Furniture
Once the surface is planned, finish the space:
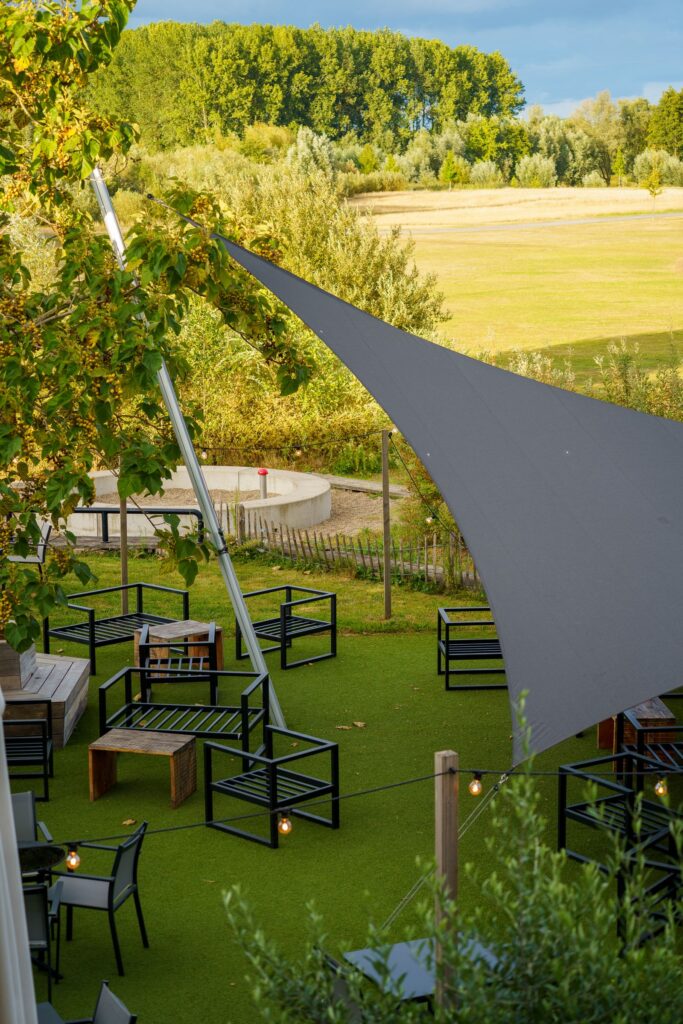
- Shade: an umbrella for a small table, a shade sail for a wider area, or a pergola for a permanent outdoor room. Plan footings for a pergola before you pave.
- Lighting: path lights from the door, string lights over seating, and wiring or conduit run under the patio before it’s built. See our landscape lighting guide.
- Furniture: pieces that suit your climate and fit the footprint you planned. Our guide to durable outdoor furniture compares materials.
- Plants: containers and border plantings soften the edges and add privacy.
Before You Build
Check whether your city or HOA requires a permit or limits how much of the lot can be paved, especially for poured concrete, raised patios, or anything attached to the house. On a tight budget, build in phases: start with a gravel patio and upgrade to pavers or stone later. Our weekend projects guide includes a gravel patio you can finish in a weekend or two.
Frequently Asked Questions
How big should a patio be?
Big enough for the furniture you plan to use plus room to move. Lay out the furniture first, add about 3 feet around a dining table for chairs and walking, and include paths between zones. Most first patios end up too small.
What is the cheapest patio material?
Gravel or crushed stone. It drains well and goes in quickly, though it shifts underfoot. Concrete pavers and poured concrete cost more, and flagstone and permeable pavers usually cost the most.
How deep should a patio base be?
The Interlocking Concrete Pavement Institute calls for at least 4 inches of compacted gravel base under a paver patio, with a thicker base on clay soil or where the ground freezes.
Which way should a patio slope?
Away from the house, about 1/4 inch per foot, so rain drains off instead of toward the foundation.
Do I need a permit for a patio?
Sometimes. Some cities and HOAs require permits for poured concrete, raised patios, or structures attached to the house, or limit how much of a lot can be paved. Check before you build.